
A smokeless fire pit earns its reputation on a dry evening. In a British drizzle it can turn sulky: pale smoke, half-hearted flames and an hour spent rearranging damp logs. The pit is rarely the problem. Smokeless designs work by burning the smoke itself, and that second burn needs heat, dry fuel and a steady supply of air. Rain takes away all three. Give the fire a proper head start, keep the fuel dry and shelter the first ten minutes, and you can sit out a drizzly October evening with a clean burn and nobody squinting through smoke.
Why a damp evening defeats a smokeless pit
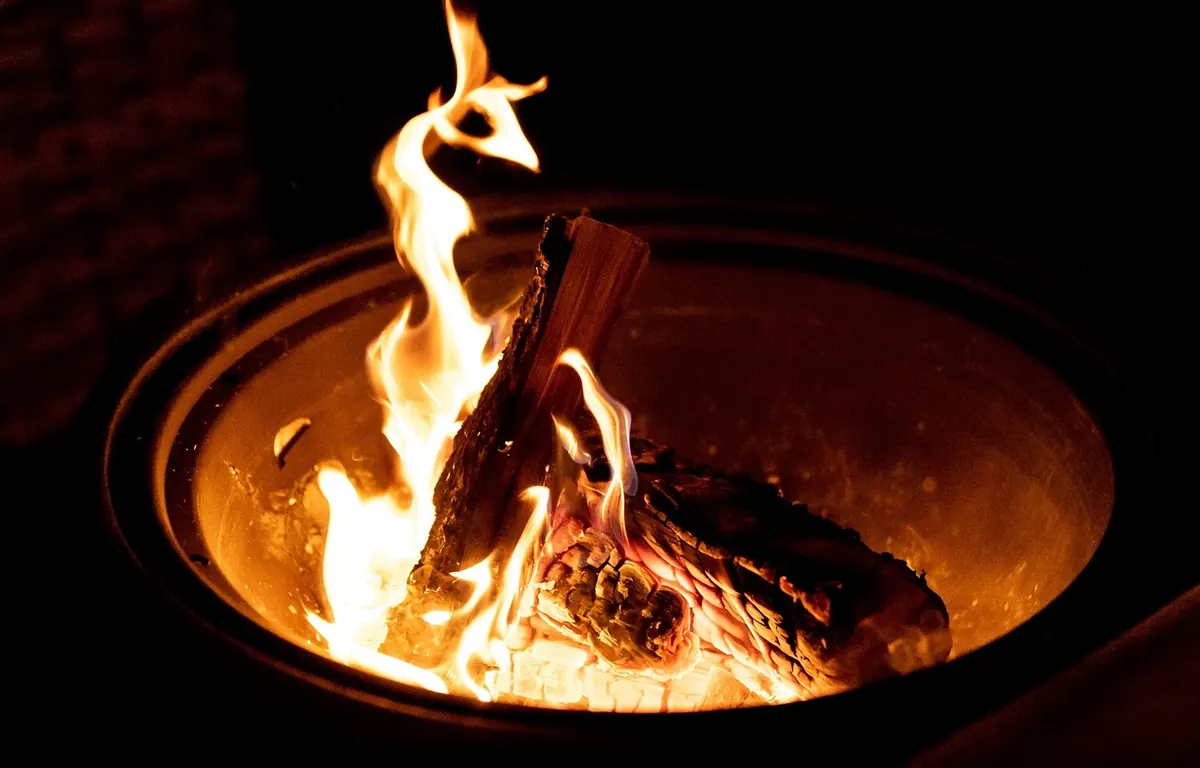
Most smokeless pits use a double wall. Air is drawn through vents near the base, rises between the inner and outer shell, warms up and is pushed out through a ring of holes near the top. That preheated air meets the gases coming off the wood, and those gases burn too — which is why you see almost no smoke.
It only works above a certain temperature. Wet wood spends the first part of its life boiling off water rather than burning, which drags the temperature down and kills the secondary burn. Damp air and still, heavy evenings make things worse by weakening the draw up the column of hot gas above the fire. The result is a smouldering pile of logs and a plume of white smoke that smells like a bonfire someone is trying to put out.
Prepare the fuel before you go near the lighter
Fuel decides everything, and a damp evening is the wrong time to be digging damp wood out of a damp bag. Sort this out first.
- Kiln-dried hardwood, split down small. Anything that hisses and bubbles at the end is still wet inside, however dry it looks on the surface.
- Kindling finer than you would use in summer. Batons roughly two fingers thick catch in minutes where a fat log will only steam.
- Plenty of dry firelighters. Wax blocks, wood wool or cardboard tubes — take more than you think you need.
- Bring the evening's wood indoors 24 hours ahead. Shed, garage or porch is fine. Stack it loosely so air moves through the pile.
- Keep a lidded trug or bin beside the pit so the next batch stays dry while you sit there.
- Skip treated, painted or glued timber. Old fence panels, MDF and chemically stamped pallet wood give off unpleasant fumes and smoke no matter how good the pit is.
If you do only one thing, do this: two dry splits and a handful of kindling kept indoors will light far more reliably than a barrowload of damp logs.
Choose your spot and plan for the rain
Pick hard, level ground — paving or gravel rather than wet grass, which steams, scorches and holds puddles beneath the pit. Keep clear of fences, sheds, overhanging branches and the washing line; damp laundry and drifting sparks are a poor combination.
Think about where the weather is coming from. A pit catching a crosswind will smoulder and push smoke at whoever is sitting nearest. Set it so a light breeze reaches the vents while the seating stays sheltered — the edge of a gazebo, a covered doorway, a wall to break the wind.
Have three things within reach before you light: a long lighter or gas taper, a slab or sheet of metal you can stand on its edge as a windbreak on the weather side, and a bucket of water. A lid is useful for shutting the fire down at the end, but do not cap a live fire — you will starve the secondary burn and undo the work you have just done.
Building a fire that catches first time
Clear the base before anything else. Tip out yesterday's ash and check the drain holes are not clogged with claggy wet ash. A pit holding an inch of rainwater will never get going, so dry the inside with an old cloth.
- Put two loose handfuls of dry kindling in the base, criss-crossed with gaps between the pieces. Do not pack it tight.
- Tuck two firelighters low down among the kindling, out of the worst of the rain — not balanced on top where the drips land first.
- Light from the side, low down, and let the kindling catch properly. Two or three minutes of patience beats any accelerant.
- Add small splits, two at a time, crossed with air between them. Wait until those are burning well before adding more.
- Build gradually to larger splits, but keep the fuel below the ring of air holes near the top. Cover those and you lose the burn that makes the pit smokeless.
An open top matters as much as anything. Rain falling on a hot fire is mostly harmless; rain landing on kindling that has not caught yet can end the whole evening.